In October 2019 I tried to buy a car online using Bynco. Unfortunately someone else bought the car I was interested in before I could do so. I ended up buying a similar car elsewhere.
Two months ago I gave Bynco another shot. As they appear quite popular with expats and non-Dutch speakers I decided to blog about my experience here.
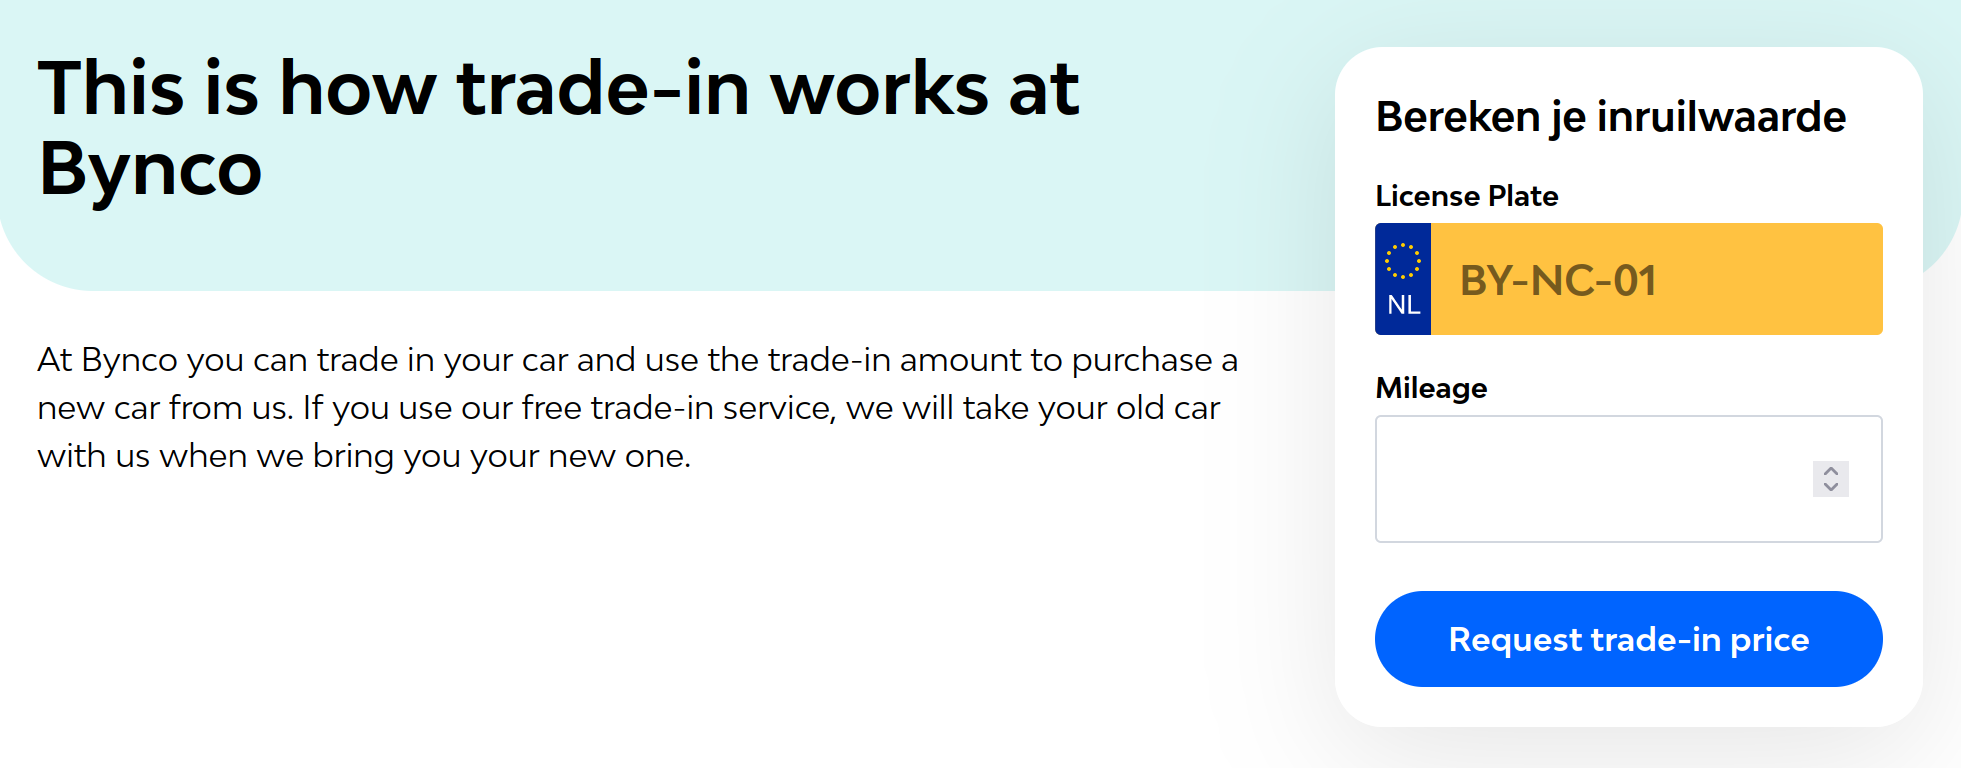
Bynco selects cars from associated car dealers, presents them online, and delivers them to your home. The dealers reach a larger audience and the buyers have more cars to choose from.
A clever concept. Assuming they vet the dealers and pick their best cars, Bynco can operate with very little risk.
Trade-in
We own two cars and wanted to trade one of them in when buying a new car. I filled out the relevant form on Bynco’s website and uploaded the necessary photos.
Bynco has clear guidelines on which photos to upload. These are identical to other car buying services, allowing you to re-use the photos and get an offer from multiple services.
Bynco staff called to discuss the data I entered and told me to send the photo’s once more, this time using WhatsApp instead. An odd redundancy in the process – probably not by design.
Within 24 hours I received Bynco’s trade-in offer. It was as a good offer. Better than other offers I had requested elsewhere. The amount offered was then listed as a credit on Bynco’s website and valid for 14 days.
Choosing a car
My wife and I have a fairly specific list of requirements. This allowed us to quickly narrow things down to a handful of cars. The filters on the website got us pretty close, but some details needed to be checked and compared manually.
Then the hard part: how do you select the right car without test driving each one of them? Bynco advertises with a 2 week test-drive, but you don’t want to spend weeks switching and trying cars. Ideally our first pick would be a keeper.
As multiple cars met our requirements, I focused on a few other things to pick the best one for us (in no particular order):
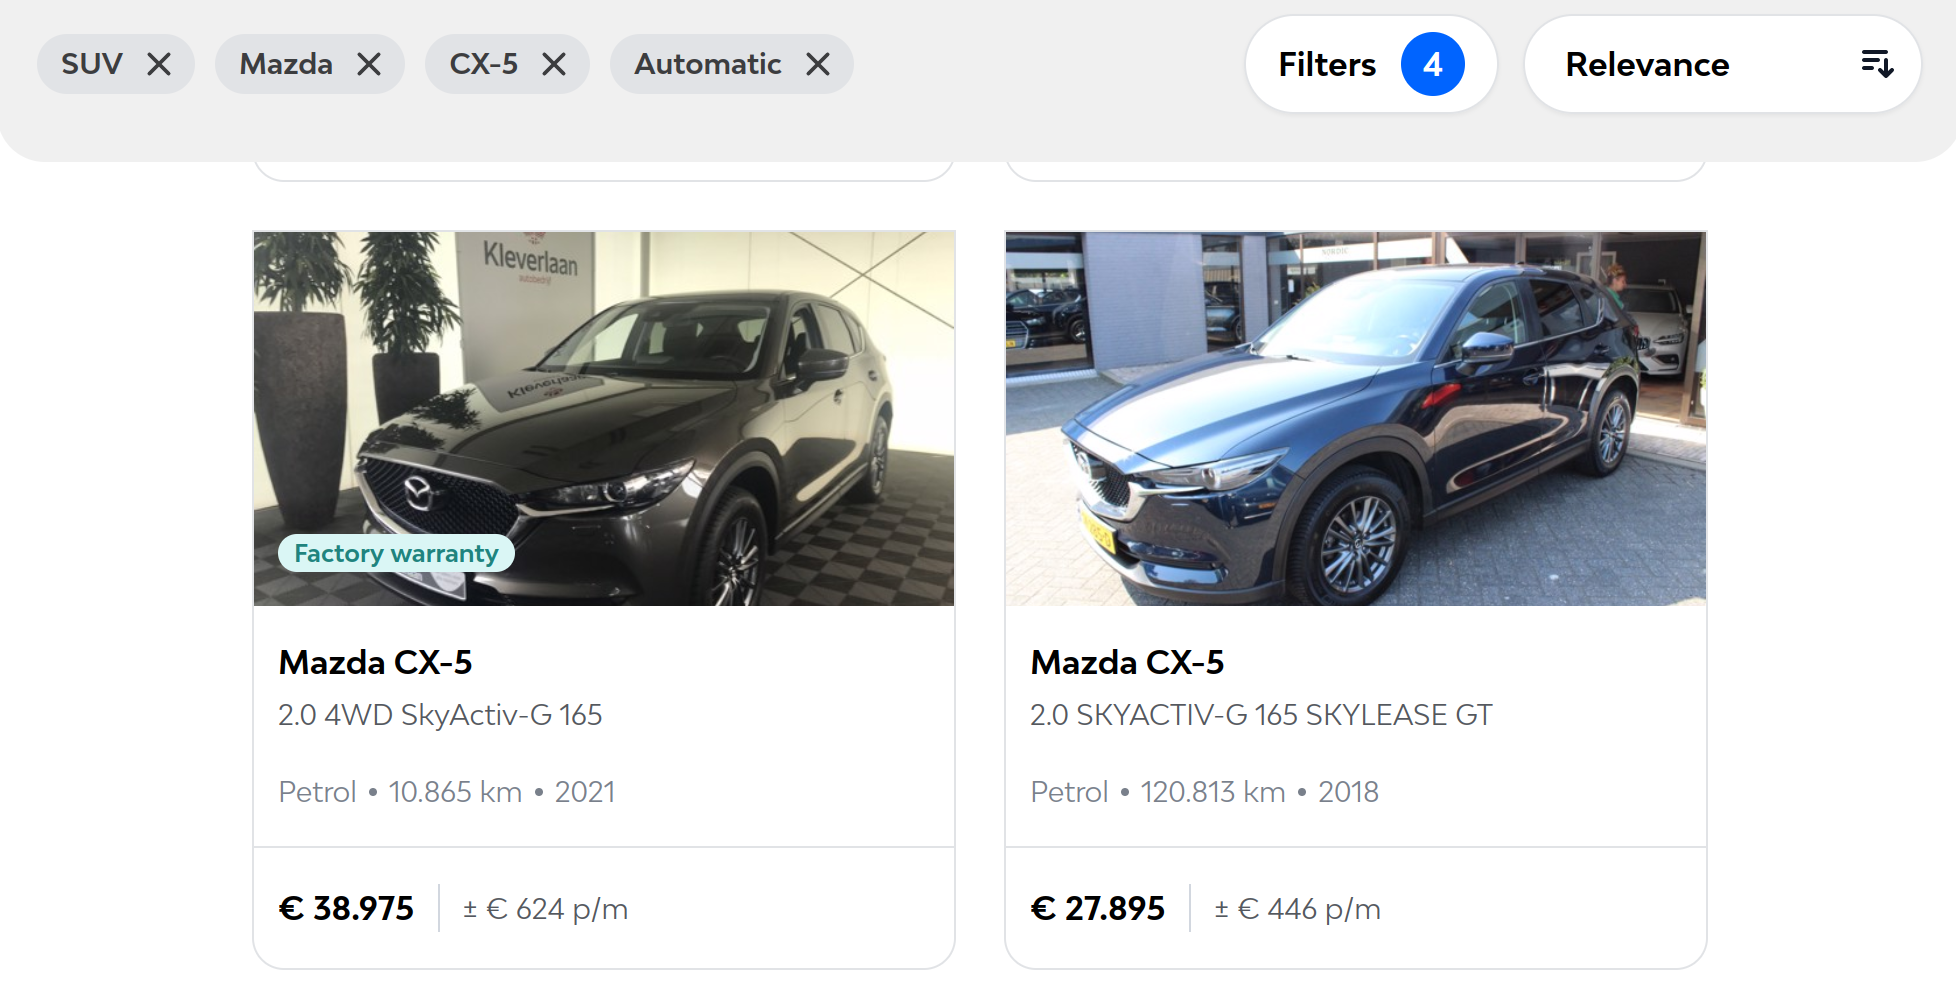
We ended up with 2 nearly identical Mazda CX-5’s. One was a nicer color, the other had a hitch installed. After some more digging into the history of both cars, I discovered that the one with the nicer color had an extended factory warranty. (Not pictured.)
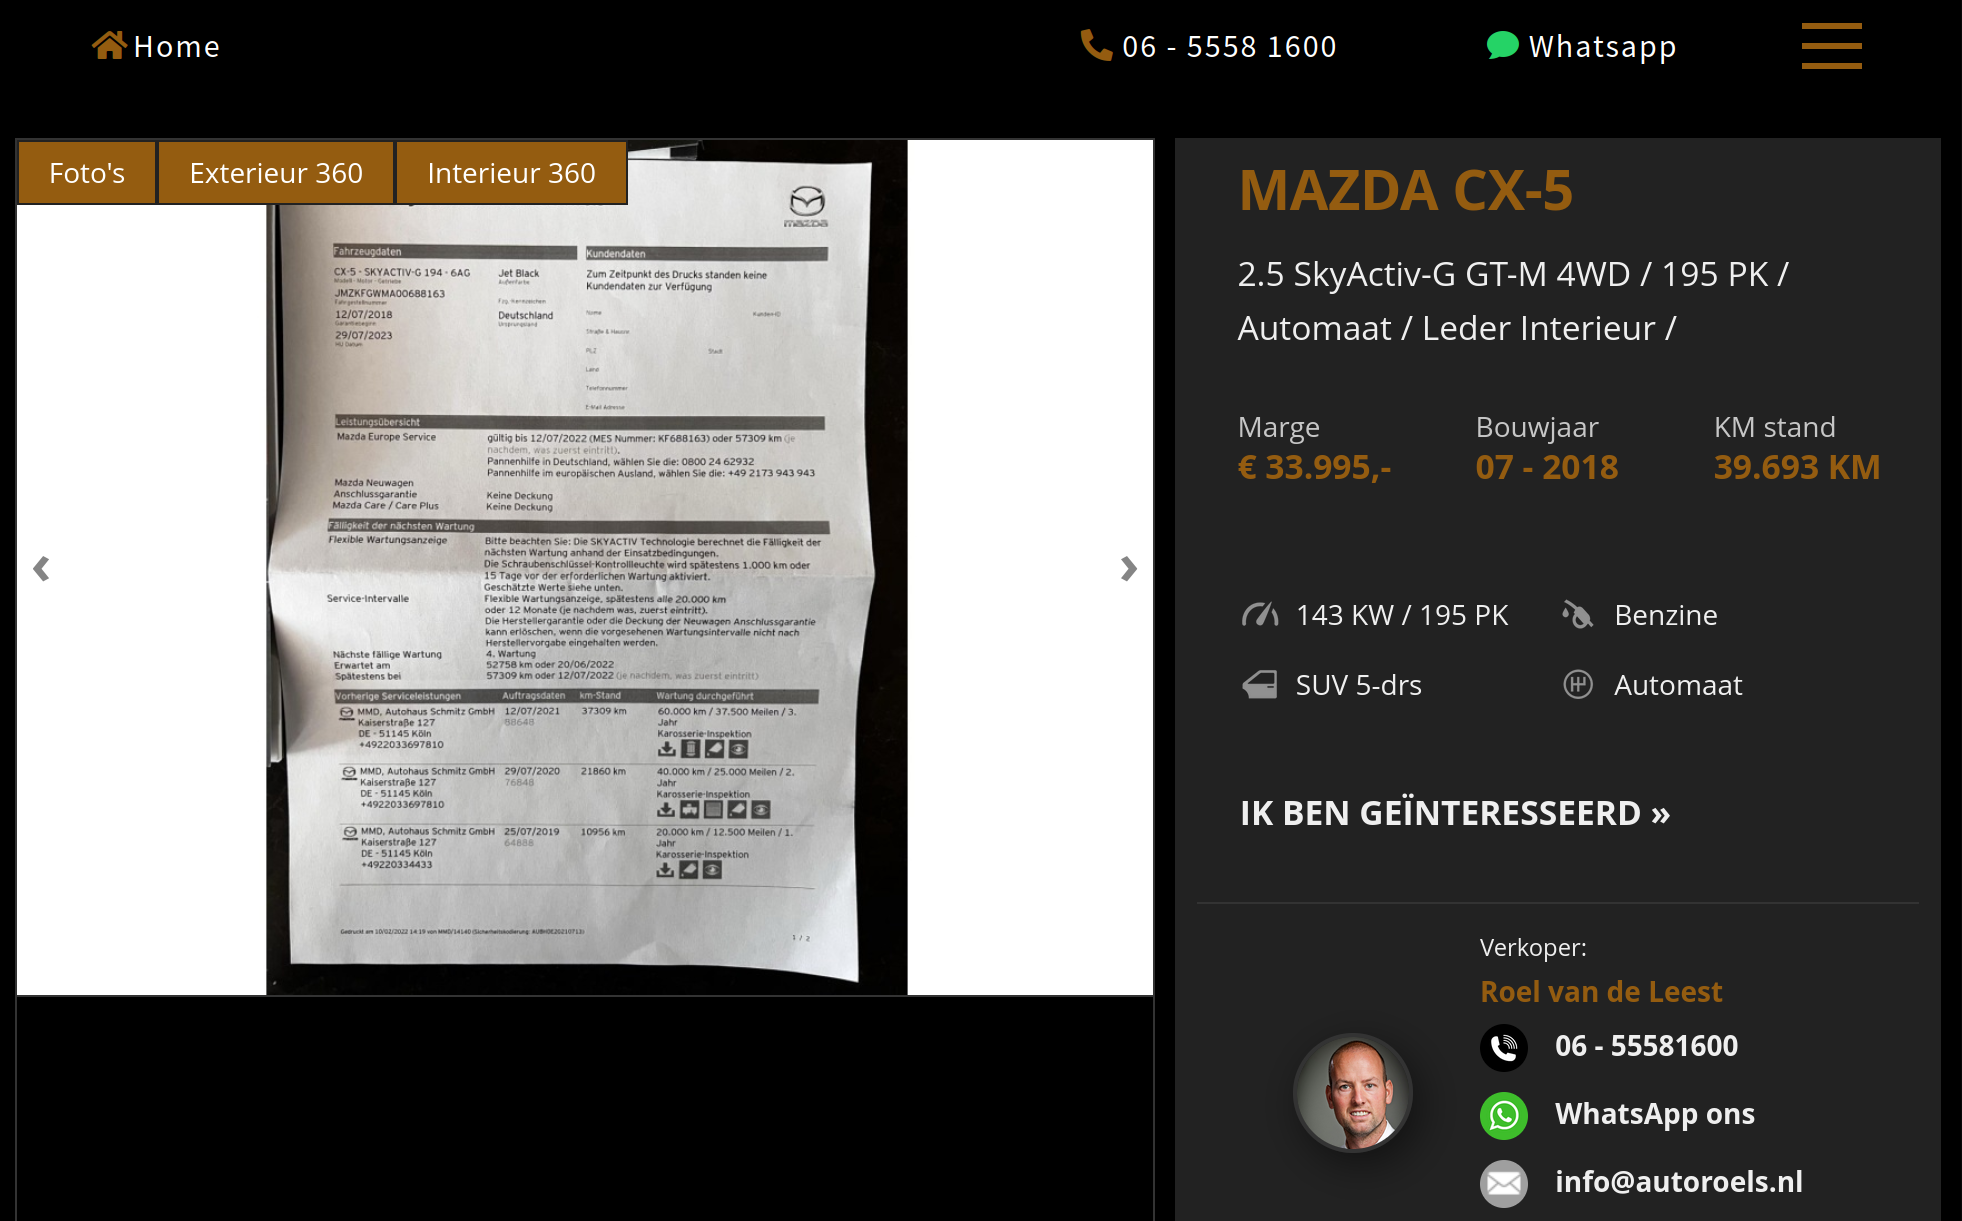
The factory warranty was not listed on Bynco’s website but could be seen in screenshots posted on the car dealer’s website. I think Bynco overlooked this, as they did tag many other cars with a factory warranty label, but not this one.
In any case, this made our choice easier: get the one with the nice color and factory warranty, have the hitch installed later.
Buying the car
Buying the car is much like buying anything else online. You select the car, fill out your details in a form and choose whether you want to pay immediately or upon delivery. Bynco’s staff earlier recommended I choose the latter, so I did.
At this point things get a little exciting. There’s some delay between purchasing the car online with Bynco, and Bynco communicating this with the dealer. As you can read in reviews on Google it has happened to other customers that the dealer had already sold the car to someone else.

Two days after ordering Bynco staff called to confirm the purchase and agree on the delivery date. The delivery date was set 10 days from the day that I ordered. He also sent me the meldcode needed to insure the car.
There was no communication during the remaining days. Supposedly the car was being checked and prepared for delivery, which would have allowed for some kind of progress indicator on the website. But there’s no such thing.
Delivery
The day before delivery I received an e-mail indicating the time-slot (09:00-13:00) and reminding me to have the car insured.
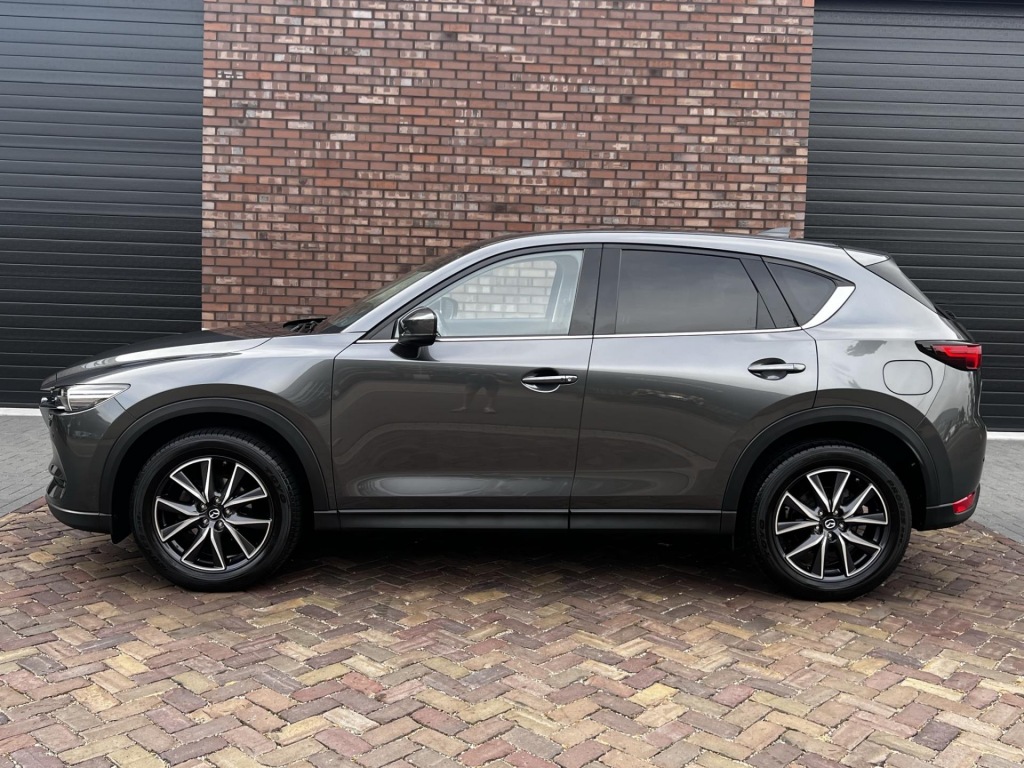
The next morning the car arrives at exactly 09:00. The delivery guy is kind, professional and the car looks great. During our mutual inspection we find only a few very minor scratches.
After inspecting the car, we decide to go ahead with the purchase. This is when I make the payment. The delivery guy calls the dealer to transfer ownership of the car. He also calls Bynco to deal with the ownership of the car we’re trading in.
Payment goes through an escrow service called GoCredible. If you decide to return the car within the test-drive period, GoCredible will refund you your money.
The delivery guy leaves with our old car, and I took the new car for a spin. During this first drive I did notice a few things that I missed earlier:
- The gas-tank was only half filled. The Bynco website promises a full tank of gas.
- One of the interior lights does not work.
- Two more small scratches. Obfuscated by the rain early that morning, now visible in the bright sunshine. Nothing that would have changed my mind though.
- The Bynco advertising on the tag holder appears to be just a piece of tape. Underneath is the name of the car dealer.
Test driving
Bynco allows for a 14-day test driving period. There’s a catch though: if you drive more than 200km, you have to pay a depreciation fee. Not unreasonable, but something to keep in mind.
APK (MOT)
All Bynco cars – that are old enough to need one – come with a valid APK (MOT). Our car came with one too. Or so both Bynco and rdw.nl told me. I did not find the printed APK report with the car’s papers though, so I asked Bynco that they arrange the car dealer to send the report to me.
Bynco did not get back to me on the issue. After a week they did call me to see if I was happy with the car. During this call I reminded them of the issue and they promised to take care of it that next Monday. Unfortunately this still did not result in any follow-up.
In the mean-time a trip abroad that we had planned was just days away. The paper report is not required in the Netherlands as police check the APK status with the RDW directly. However, foreign police may not be able or willing to do so.
So I reminded Bynco once more. This time I did get a response, be it an unexpected one: the dealer was unable to produce the report. In Bynco’s opinion I did not need it, and if I really wanted one I should go to an RDW office and pay to get an official copy.
This struck me as odd. The car was imported from Germany. I was its first Dutch owner. For the RDW to show a valid APK the car dealer (or their importing agent) had to present a German report to the RDW upon importing, or get a new Dutch APK afterwards. Either way, a paper report was in the dealer’s hands when he got the car.
Time to argue had run out though, so I drove to the RDW office as suggested. Unfortunately the RDW had more bad news: the APK status was indeed based on a German report presented upon import. The RDW cannot issue copies of foreign APK reports. They also confirmed I better not take the car abroad without proper paperwork.
Prior to this I would’ve given Bynco a 5-star review. But they really dropped the ball here. Had they told me at my first request that the APK was German and paperwork could not be produced, I would’ve had ample time to obtain a new Dutch APK. Instead, they delayed, appeared oblivious to the fact that the car has a German APK, and wasted my time and gas by sending me to the RDW office.
We ended up taking the risk and made the trip without the APK paperwork. We have more trips planned though. Longer trips, traveling much further. Upon return in the Netherlands I contacted the local Mazda dealer to arrange a new APK. They provided one for free.
Warranty
Bynco’s cars come with 2 warranty promises:
- No maintenance costs the first 6 months or 5000km.
- General warranty for 12 months.
As you may expect, these come with a ton of small-print.
No maintenance costs for 6 months
The car I purchased had both its APK and next maintenance scheduled in more than 6 months. I’m guessing this applies to all Bynco cars, meaning they can offer this warranty without much risk.
As I needed a new APK early, I discovered that the brake rotors were close to being worn out. This resulted in an AC5 remark on the APK report. I’ve had them replaced promptly.
After purchasing the car I received a lot of information about the 12-month warranty described below. But no word on the 6-month no-maintenance promise. It’s unclear whether I can claim the brake replacement with Bynco.
The APK debacle has me believe they would argue that I could’ve postponed the replacement. AC5 is a heads-up, not an obligation to immediately replace them. We have a long (5000km+) trip planned though, and I don’t want to deal with this abroad if I can avoid it.
General 12-month warranty
This 12-month warranty is outsourced to AutoTrust, an insurance plan with some considerable shortcomings:
- You cannot go to the brand dealer, you have to use one of their partners.
- In my area their partners have terrible ratings on Google. I would never go there, even if it’s free.
-
They may use used parts, merely delaying the real repair costs to when the warranty expires.
- Tons of things are excluded. It excludes more than it includes.
It’s better than nothing, but not much more than that. I would prefer a BOVAG warranty. Better coverage aside, BOVAG warranty is covered by the seller, not an insurance company. This incentivizes the seller to ensure the car has no issues before selling it to you.
Conclusion
Although I cannot give Bynco a 5-star review, I do recommend checking them out when you’re in the market for a new car. Understanding their shortcomings and doing your own due diligence, you can still make a good purchase.
I do hope they further improve their service. The issues I encountered are easily prevented. Specifically, I hope they offer future customers:
- Brand new APK. Regular car dealers almost always throw this in for free. It’s very cheap – assuming the car is indeed technically sound. It would have avoided my APK issues and have given me an earlier heads-up on the worn out brakes.
- Optional BOVAG warranty. While BOVAG is not perfect, it’s preferable over AutoTrust.
Update
2022-11-10: I received an e-mail from Bynco today. All cars now come with 1 year APK + 1 year BOVAG. The latter can be optionally be extended to 18 or 24 months. As this is exactly what I recommended, I’m upgrading them to 5 stars!